

Before Measurement
Use a bubble level – Ensure the floor is level before measuring; correct if slope exceeds 1/8" over 3 ft
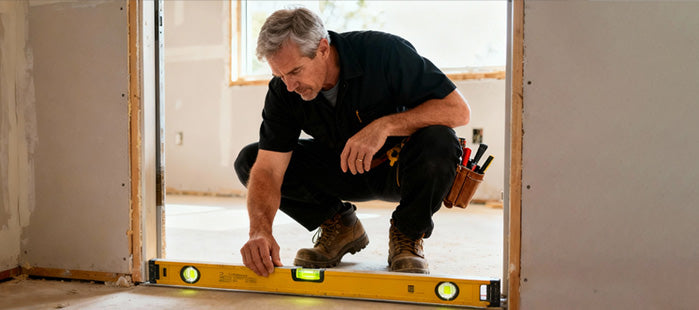
An uneven base causes:
> Twisted frame --binding or failed latching
> Seal failure--drafts, leaks, noise
> Installation issues
> Various problems during subsequent use.
Start Measuring
1. Tools you'll need:
-Steel tape measure – Cloth tapes can stretch; lasers may misread on uneven surfaces
-Notebook or phone – For recording measurements
-Step ladder – For tall opening
————————————
2.Measure the rough opening (RO) - NOT THE OLD DOOR!
Measure Twice, Order Once
————————————
3. Check Square & Plumb
Header level?
Side studs plumb?
Deviation over ¼" in 6ft?
Correct it first.
————————————
4. Final Checks
Record clearly : W × H × D
Note obstructions: pipes, electrical, uneven floors
Take photos: wide shots + close-ups with tape visible
————————————

Width: Measure stud-to-stud at top, middle, bottom. Use the smallest number.

Height: Subfloor to header at left, center, right. Use the shortest number.

Depth: Exterior sheathing to interior finish. Take several readings—use the largest number (sets jamb depth).
Measurement Matters
For any doors installation, It all comes down to one thing: dead-accurate measurements. No “Close Enough” – Even ¼" off can affect fit, mess this up, and you’re looking at delays, extra costs, and serious headaches. Follow this field-tested guide to measure like a pro and nail it on the first try.


Still have worries?
Book our On-Site Measurement Support—a fee-based service but (free if you order within 30 days.)
- Choosing a selection results in a full page refresh.
- Opens in a new window.